FAQs
Along with your commercial shade sail, we supply the necessary hardware for you to attach, tension and fly your sail. The hardware is marine grade stainless steel, which is best for safety and longevity.
We provide all DIY installation instructions and are available for support as you complete your home installation, and afterwards as you care for and maintain it.
If you order a pre-cut sail, we also supply the necessary hardware, plus instructions for attaching, tensioning and flying it.
Each of our sails is handmade to order by a master craftsman. As our product is custom made, order fulfilment is not instantaneous, but we are proud of how fast it is. The average time between ordering and dispatch is 7 -10 days, and we guarantee dispatch in 14 days.
The Rainbow Shade fabric is from South Africa and has been imported into Australia for over 30 years. Other fabrics are sourced from New Zealand and Germany.
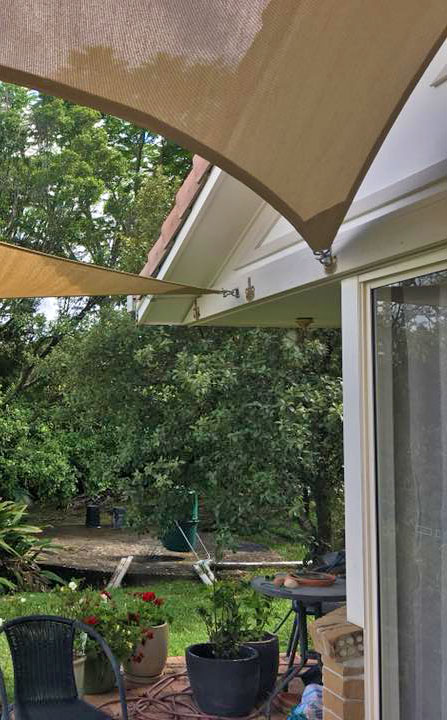
Commercial Shade Sails is a wholly Australian-owned and managed company, and our sails are made for harsh Australian conditions. Your custom-made commercial shade sail is made to order on the Gold Coast by our resident master sailmaker, who has been handcrafting shade sails for 30 years.
Yes, we can install your commercial shade sail, as well as supporting you in DIY installation, depending on your location. Please contact us for more information, including how we can support you if your location prevents us from attending your site.
Your commercial shade sail is a sturdy, long-wearing product that we are proud to guarantee for 10 years for both the fabric and the stitching.
You can extend the life of your shade sail even further, by following these five tips:
- Install it correctly and securely. This will keep it safe in winds.
- Keep it clean. Use just water, a mild detergent and a ladder, regularly.
- Check the tension regularly, to prevent sagging and wind damage.
- Repair any minor tears promptly, so they don’t become major tears.
- Regularly check the stitching, and if necessary have it re-stitched. A local canvas manufacturer can usually help with re-stitching. If one part has come unstitched it is recommended to have the entire sail re-stitched.
You should simply use a mild detergent (such as sugar soap) and water to regularly clean your shade sail. Choose dry weather to do this, so that the shade sail dries quickly, with no chance of mould or mildew forming. If you have harder to remove dirt and grime a commercial grade cleaning product will be required (such as Wet & Forget)
Be sure to choose a detergent that does not contain bleach or mould removal products, as they will greatly reduce the lifespan of your shade sail.
Use a garden hose (never a pressure hose) and a soft bristled brush. Hold the hose at a safe distance, working over the shade sail in sections. There is no need to uninstall the shade sail to clean it, and we recommend against this. A ladder should help you to reach the highest parts of the shade sail.
You can also take the opportunity when cleaning to check the tension to reduce any sagging. This will also help prevent any unnecessary wear.
Measuring tips
Commercial Shade Sails prefer you to have your connection points ready before you order (e.g., posts in the ground). We make our shade sails to fit your connection points; the intention is not for you to put your connection points to fit the shade sail.
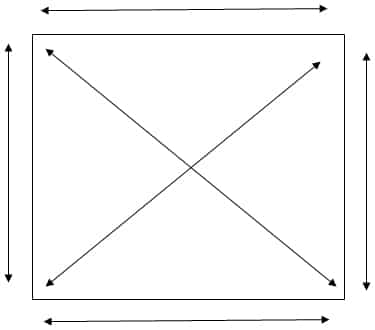
It is much easier to measure with two people. First, either use a measuring tape or if that is not long enough a rope or piece of string to measure from point to point. Attachment points must be substantial, for example, a brick or stone wall – preferably not a wooden one – or a minimum 100 mm diameter steel post. You can also make your connection point on a roof (either tin or tiled) or from a rafter.
Measure from connection point to connection point Eg a-b / b-c / c-d / d-a. If a sail has more than four connection points we require diagonal measurements from each point to each other point (so that we can cross check the measurements) (eg a-c / b-d).